How to - Artificial Hedging
Are you tired of having people looking through your fence into your garden? Or maybe you just want to create a feature wall inside your home. No matter the reason, our artificial hedging offers privacy whilst giving a new look to your home, either inside or outside.
You may be asking, "how do I put this up?". Well ask no more, here is the guide for you.
1. Measure the space
The first step is to measure the space where you would like the artificial hedging. We recommend measuring in metres or centimetres. This will make the next step easier.
2. Work out how many mats you will need
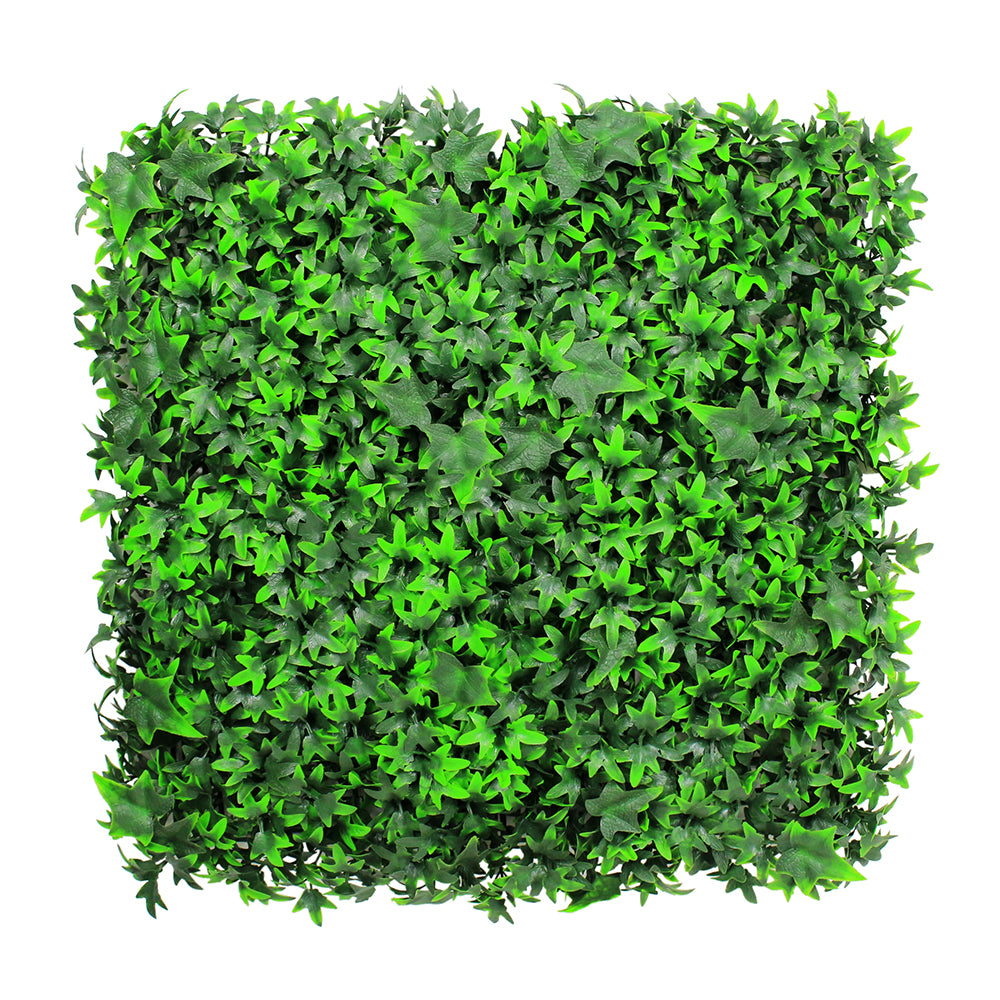
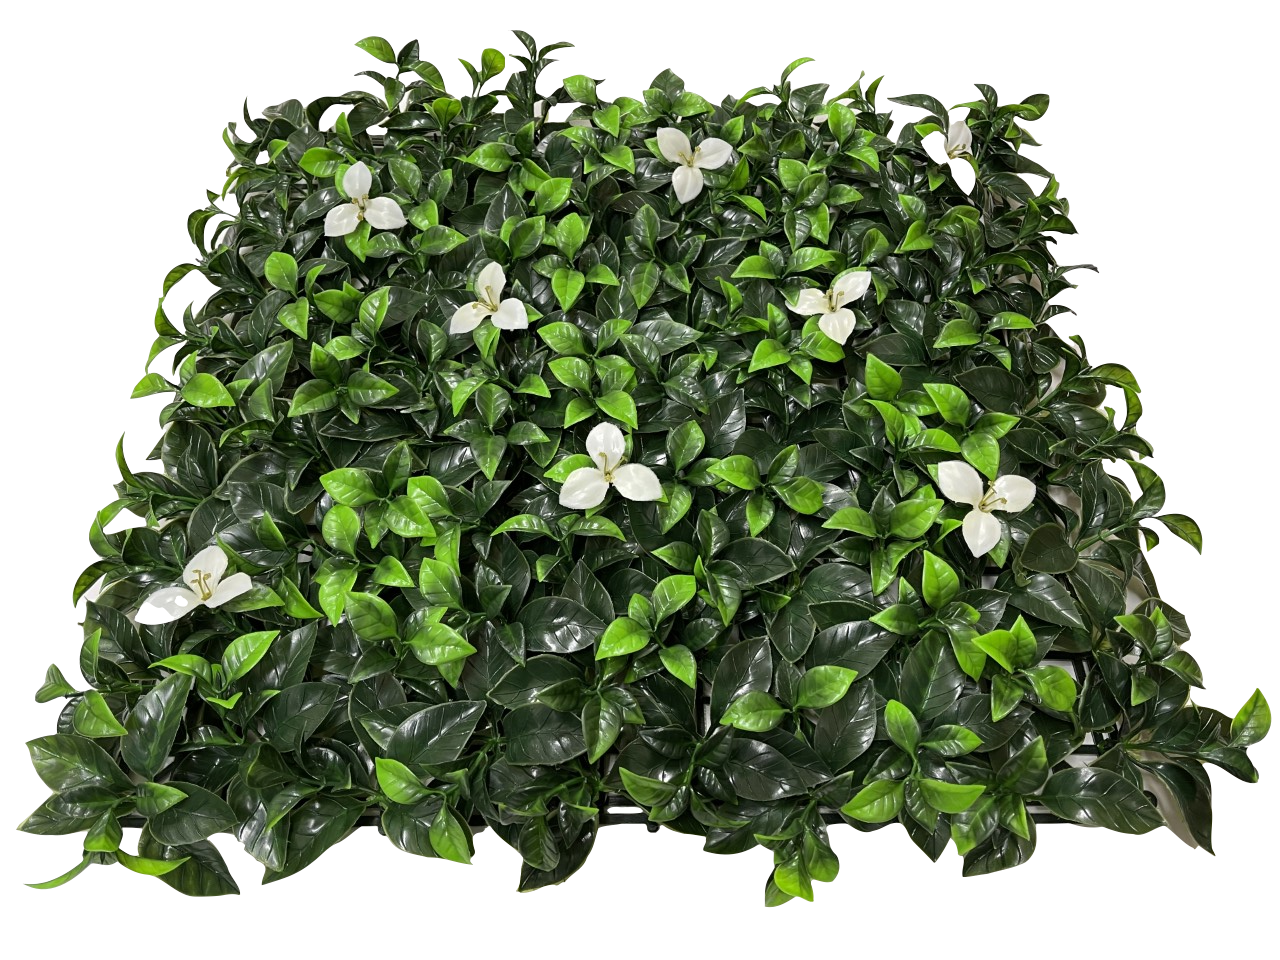
All of our mats measure either 50cm x 50cm or 1m x 1m, depending on exactly which type of hedge you desire (the product page will tell you which measurement to use). Thankfully, this makes calculating how many mats you need very simple (if you do need help with this part, then you can use the tables below to help you work out the size you need).


If your measurements aren't exactly like above, or there is a rounded corner, then do not worry. All of our hedging mats can be cut down to size with a good pair of scissors or hedge trimmers.
Now this is where it would depend on where you are putting your hedge, the general instructions are the same no matter where you are placing the mats, but the equipment that you would require may differ slightly.
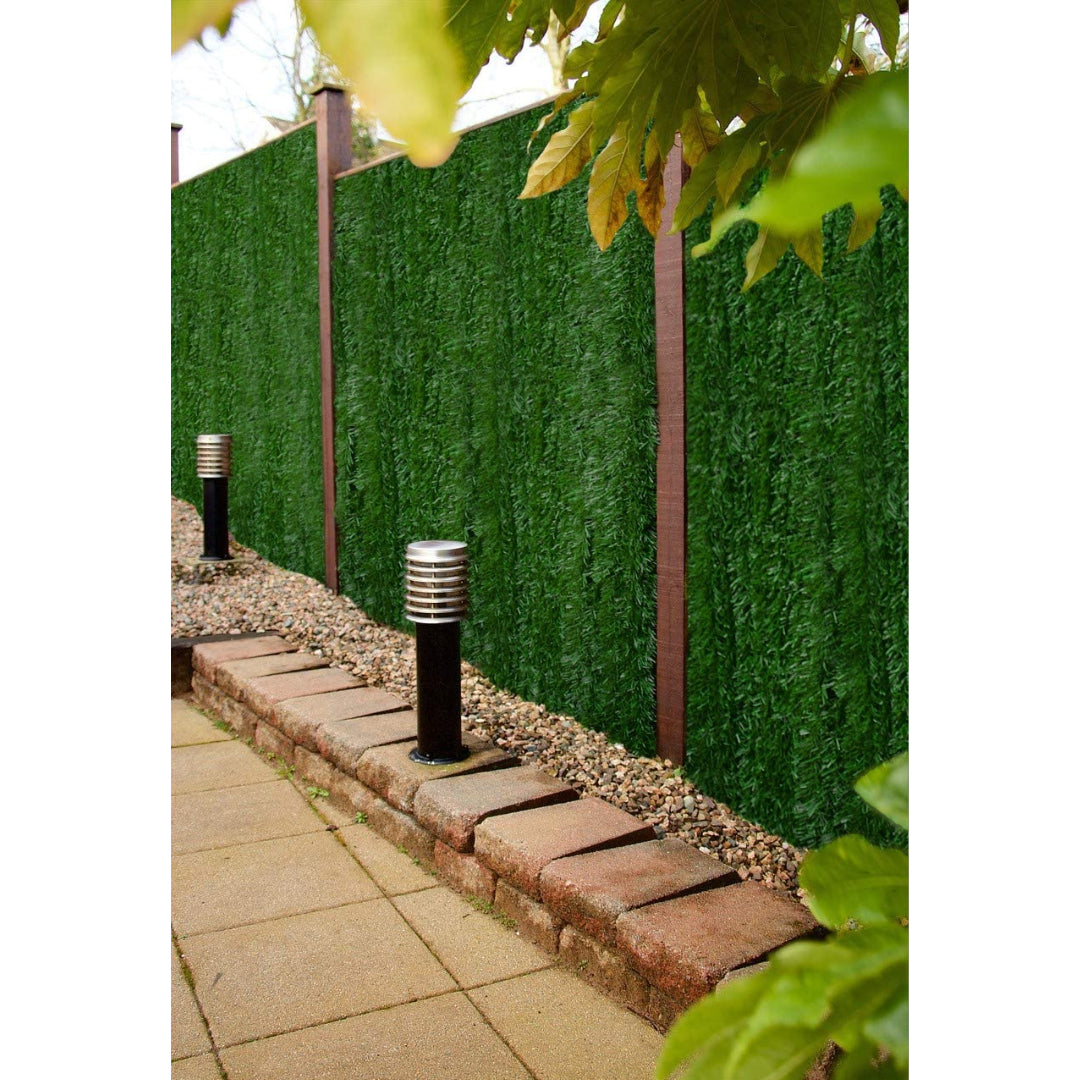
Attaching your hedge to Timber -
We have found that this is the most common way to put your hedge up outdoors as most people will either attach their hedge to a fence or create a wooden frame to attach it to.
The only items needed would be a strong staple gun (with staples) or, if you are in a high wind area, is what are called U-Nails or Fencing Staples (you can purchase these from most hardware stores), these will need a hammer to install.
- Hold the hedging mat where you would like to put it. Tip - Have someone help you with this so you can make sure that it is straight before you install it.
- Move the leaf out of your way so that you can access the frame. Tip - Majority of the time, the leaf can be pulled off the frame if it is constantly getting in your way. Just be careful when doing this as it is possible to break the leaf as they are designed to be durable.
- Staple the frame near the top to hold it in place. Tip - This is the perfect time to make sure that your hedge is straight and lines up with where you would like it to go.
- Staple the rest of the hedging mat down. Tip - We would recommend staples, at least, every 25cm so that it is secured well. Increase this number for higher wind areas.
- If you are using more than one mat, attach the next mat on now. The reason we recommend attaching the mats after the first one is attached to the wall is because, especially if you are doing a large area, the mats can become quite heavy and hard to manoeuvre.
- Stand back and appreciate your handywork.


Attaching your hedge inside your home -
If you are creating a feature wall in your home or office, then this will most likely be how you would do it. The items that we have used for this part is a hammer and plastic cable clips (the kind that you would normally use for keeping a cable secured (again, these can be purchased from most hardware stores).
- Hold the hedging mat where you would like to put it. Tip - Have someone help you with this so you can make sure that it is straight before you install it.
- Move the leaf out of your way so that you can access the frame. Tip - The majority of the time, the leaf can be pulled off the frame if it is constantly getting in your way. Just be careful when doing this as it is possible to break the leaf as they are designed to be durable.
- Attach some cable clips in to hold the hedging up. Tip - This is the perfect time to make sure that your hedge is straight and lines up with where you would like it to go.
- Use the cable clips to secure the rest of your hedging mat to the wall. Tip - We would recommend placing cable clips, at least, every 25cm so that it is secured well.
- If you are using more than one mat, attach the next mat on now. The reason we recommend attaching the mats after the first one is attached to the wall is because, especially if you are doing a large area, the mats can become quite heavy and hard to manoeuvre.
- Stand back and appreciate your handywork.


Attaching to a concrete/brick/stone wall -
This may seem like it will be extremely difficult but do not worry, we will provide you with step by step instructions.
The items that you require are a drill, a 5mm masonry drill bit, 5mm wall plugs (with appropriate screws and washers) and chalk or a pencil.
- Mark out where you would like your hedging mat to go (using chalk or a pencil), and pre-drill holes using a 5mm masonry drill bit (spaced every 25cm or so).
- Hold the panel up (or ask a friend/partner to hold the panel for you) to check the holes will line up with the plastic frame.
- Insert a wall Plug into the holes that you have just drilled, making sure that the holes are close enough to the frame to grab the plastic backing.
- Screw the screw (with washer attached) into the wall plug the whole way in (making sure that the washer has caught the plastic backing).
- If you are using more than one mat, attach the next mat on now. The reason we recommend attaching the mats after the first one is attached to the wall is because, especially if you are doing a large area, the mats can become quite heavy and hard to manoeuvre.
- Stand back and appreciate your handywork.


Attaching to a wire fence -
This is the simplest way to put up your hedging mat and the only item that you would need is Cable Ties (we normally recommend either black or green ones so that they are harder to see, these can be purchased online or in most hardware stores).
- Hold your panel up to the wire fence and adjust so that it is exactly where you want it.
- Loop a cable tie through the wire fence to attach the hedging mat to the fence.
- Secure the hedging mat using more cable ties.
- If you are using more than one mat, attach the next mat on now. The reason we recommend attaching the mats after the first one is attached to the wall is because, especially if you are doing a large area, the mats can become quite heavy and hard to manoeuvre.
- Stand back and appreciate your handywork.


Now that you have attached your hedging mats, give yourself a pat on the back. If you have any questions at all, please don't hesitate to contact us. We are always happy to help.